Air Compressor Not Starting
Lack or Insufficient Power
1. Check that the main voltage (power supply or outlet) corresponds to the
air compressor specifications.
Motor-Pump Overheating / Motor Failure
The thermal protector (internal motor-pump fuse) temporarily opened because the motor is overheating. With the exception of the CR series air compressors do not run motor continuously (non-stop) for more than 1 hour.
Mutiple times of overheating will permenately burn and danage the motor windings. If this occurs then the motor-pump will need to be replaced.
NOTE: With the exception of the CR compressor series, the majority of California Air Tools air compressors have a 70/30 Duty Cycle Rating - Learn More
Electrical Connectivity Issue
Vibration from compressor use/transport may have loosened a securing screw and might be interferring with electrical connectivity to pressure switch.
Remove power from air compressor by unplugging the power cable from power source. Remove the pressure switch cover (box) by removing 1 screw. Loosen and then retighten all screws which secure wired electrical connections. Reinstall cover and reapply power.

Air Lock (check valve spring compressed)
When pressure is left in an air tank for prolong periods of time, the check valve spring can become compressed cause the motor to not start.
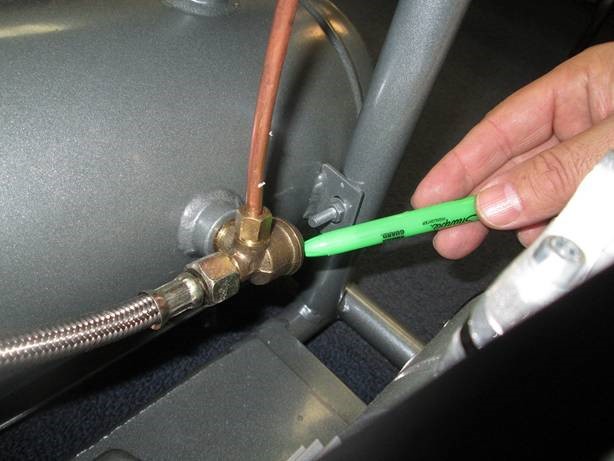
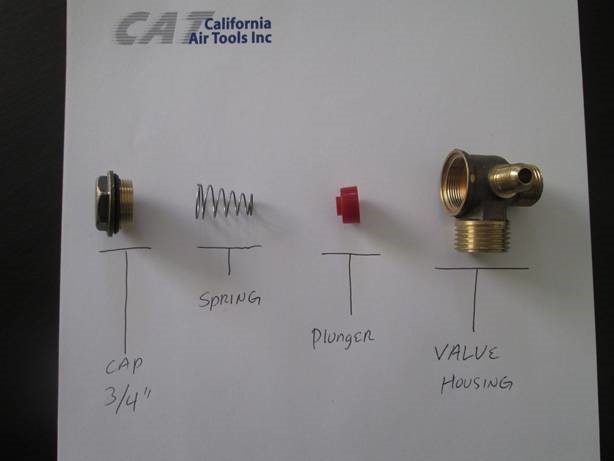
2010A Check Valve Adjustment (generally applies to most models):
1P1060S/SP Check Valve Adjustment (generally applies to most models):
Tank is Full of Water
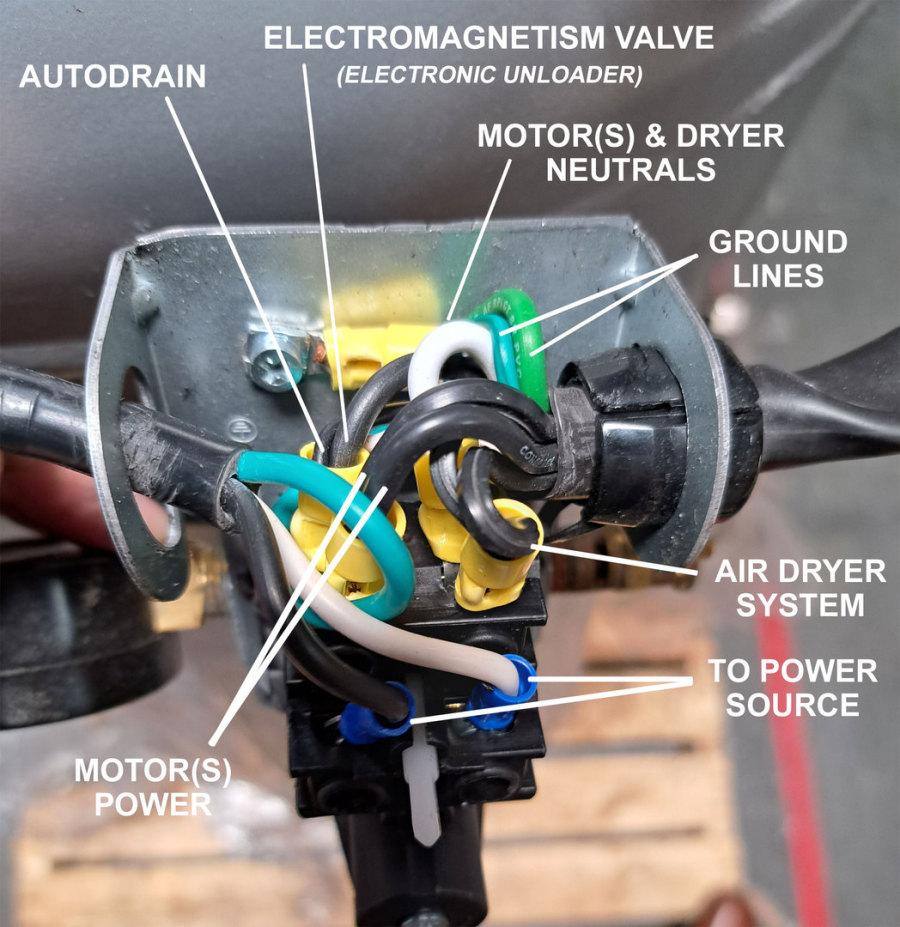
Pressure Switch Failure
Pressure switch worn or damage.


Pressure switch not turning on.
i.e. Reference 60040DCAD Pressure Switch Wiring shown below
 California Air Tools Store - Brand New & Blemished Items
 Links to Authorized Resellers

 Ideal Job-Site Air Compressor
 17-20 cfm 280V 3-Phase
 Complete Out-of-Box Solution
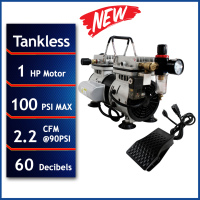 CAT-10TL Tankless 1 Hp
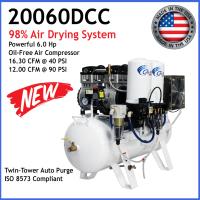 12 CFM 98% Dry Air, 20 Gal, 6 Hp, ISO 8573 compliant
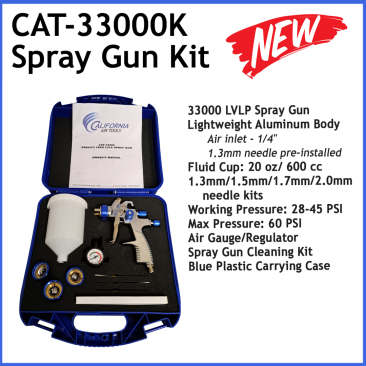
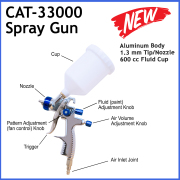 CAT-33000 Spray Gun, 1.3 mm nozzle, 600 cc Fluid Cup
 4.7 Gal, 1 Hp Compressor & LVLP Spray Painting Bundle
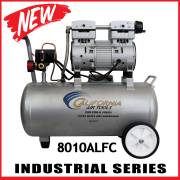 Ultra Quiet, Oil-Free, 8 Gal Aluminum, 1 Hp, 3 CFM, Long-Life Motor
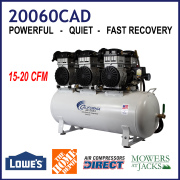 6.0 Hp, 20 Gal Ultra Quiet Oil-Free, 15 CFM Compressor
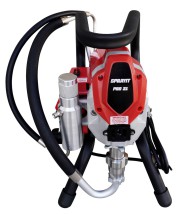 SPRAYIT PRO 21 Electric Professional Airless Paint Sprayer w/Accessories